When it comes to hiking, preparedness can make or break a trip. No matter how stable the weather or how familiar you are with the area, it’s always advisable to pack for the worst.
One thing that I’ve always contended with is unexpected moisture. Rain, fog, or mist could form suddenly. There’s also a chance of passing through a surprise water supply. You could also encounter puddles left by previous precipitation.
More...
In order to protect your gear, your backpack needs to be waterproof. But as we all now, waterproof bags are expensive. Also, some companies mislead people with their “waterproof” labels when actually, the material is simply water-resistant.
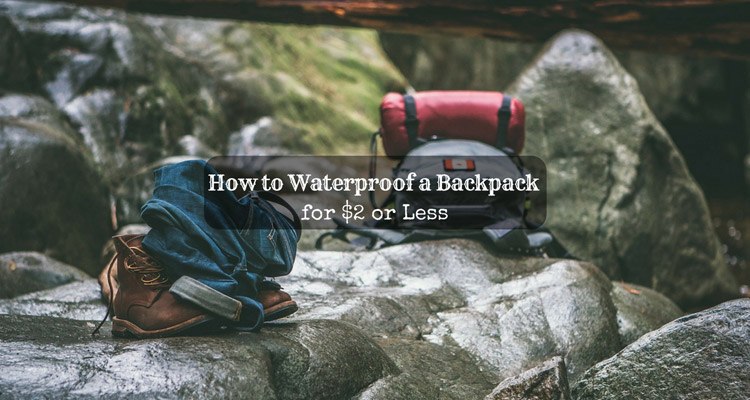
Instead of totally abandoning a perfectly good backpack that’s still in great usable form, why not do some DIY waterproofing hacks? Here are 5 easy ways how to waterproof a backpack for only $2 or less!
Things You’ll Need
Do you want to protect your whole bag or just its contents? Depending on your goal, you’ll only need one or two of these. You’ll easily find these in your home or your neighborhood store for $2 or less.
Ziplock Bags
You probably have some lying around in your kitchen cabinets. If not, you can buy ziplock bags for only 6 cents each. Choose the one without a slider because the slider could move and leave a slight gap. We’re aiming for a total hole-free seal.
Garbage Bag
Any one that you have will do, as long as it can fit all your things, or can fit your whole backpack inside.
Raincoat or Poncho
Instead of a garbage bag, you can also use a raincoat or a rain poncho. Like the garbage bag, make sure that the coat or poncho can completely wrap around all the things you’re bringing or around your whole packed backpack.
Rain Cover
You can actually make one using a garbage bag or a raincoat, but it will take time. The most hassle-free way is to buy one. If you shop around, you’ll find one that sells for only $2. Note your backpack’s size when it’s full though and choose a rain cover size that fits that.
Waterproof Rubberized Tape
This is the kind of tape that’s used to repair water sports equipment. Waterproof rubberized tape can be easily found online and in your neighborhood hardware store. This is not the same as duct tape. Duct tape is only water resistant but will disintegrate when soaked for long periods.
Rubber Bands
We’re going to use these to securely tie the garbage bag or the raincoat if you use those options. If you have thick ones, better. But you can also use normal ones.
How to Use
Ziplock Bag Method
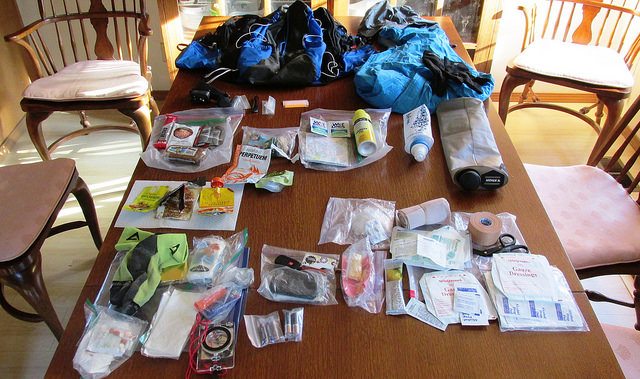
Step 1: Choose all objects that you need to stay dry.
Step 2: Segregate them according to use. Prepare them (by folding or otherwise) to fit into your ziplock bag.
Step 3: Zip each one up in a ziplock bag. Before zipping it all the way, leave a small opening and press down or around, releasing extra air. This will maximize your packing space and eliminate the risk of a bag bursting.
Pros:
This will keep essential things dry. It’ll also make it easier for you to pull things out as you need them and reseal each bag.
Cons:
It’s not exactly environmental-friendly to use this many plastic bags. Also, your backpack will still get wet if it isn’t waterproof, which could feel heavy and uncomfortable.
Recommended articles
Find Out Which Tops the Best Hiking Backpacks under 100 Dollars
Garbage Bag Method
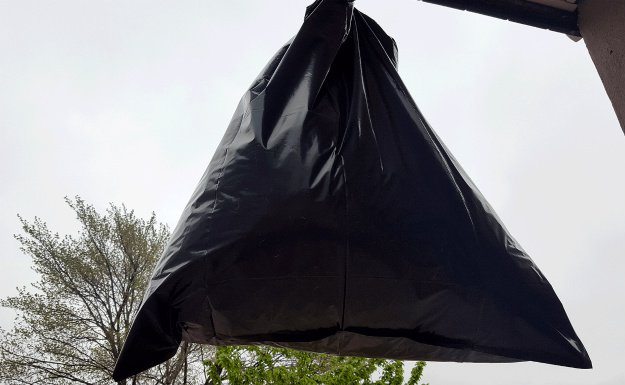
Version 1
Step 1: Fit an empty garbage bag inside your backpack. It’s alright if there’s extra over the opening as we’ll tape that down or tie it into a knot.
Step 2: Arrange all your things neatly inside the garbage bag.
Step 3: Fold the top over and tape it, or twist the top and tie it into a knot. You can also tie it close with a rubber band.
Version 2
Step 1: Arrange all your things neatly inside your backpack and zip it up.
Step 2: Place your whole backpack inside the garbage bag.
Step 3: Twist and knot the garbage bag closed and tape it up or tie with rubber bands for extra measure. You can cut holes to let the straps through so you can use it. Use a waterproof rubberized tape to seal the holes against the straps to ensure that no water gets inside.
Pros:
The cheapest and most available in a pinch. In case you’re going somewhere with a body of water, best bring a garbage bag so you can do this on the spot.
Cons:
Version 1 will still get your backpack wet, which could feel heavy and uncomfortable if soaked. If you want a more refined look, then Version 2 isn’t that great either. But it’s the easiest for when your trip involves a lot of swimming with you carrying your bag.
Raincoat
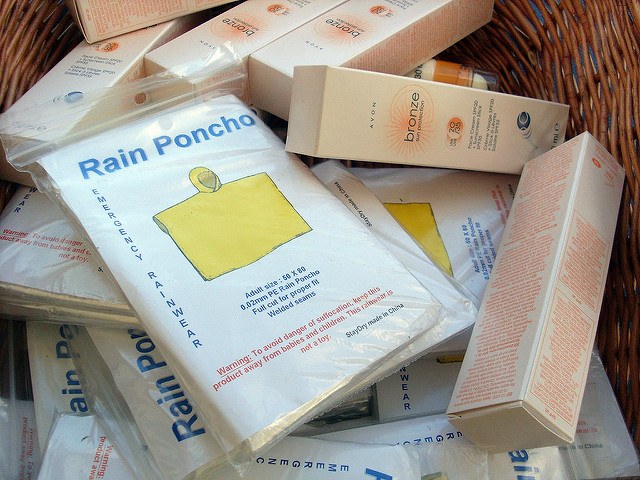
Step 1: Open up your raincoat and line inside of your bag with it. Make sure that every inch is covered. It’s ok if some material exceeds the top since we’re folding it down anyway. You can also use a rain poncho for this.
Step 2: Tape up the seams to prevent the sheet from moving around and to seal the seams. Place all the items inside.
Step 3: Either fold the excess material like a gift wrapper and tape it up, or you can gather the ends and twist and tie with a rubber band.
Pros:
You can finally find a use for an old raincoat or a used rain poncho. Cheap and easy to find.
Cons:
You’ll need to bring extra tape and rubber bands in case you need to re-seal the lining.
Recommended articles
How to Pack an External Frame Backpack in 4 Simple Steps
The 4 Best Backpacking Rain Poncho for Campers and Hikers
Rain Cover
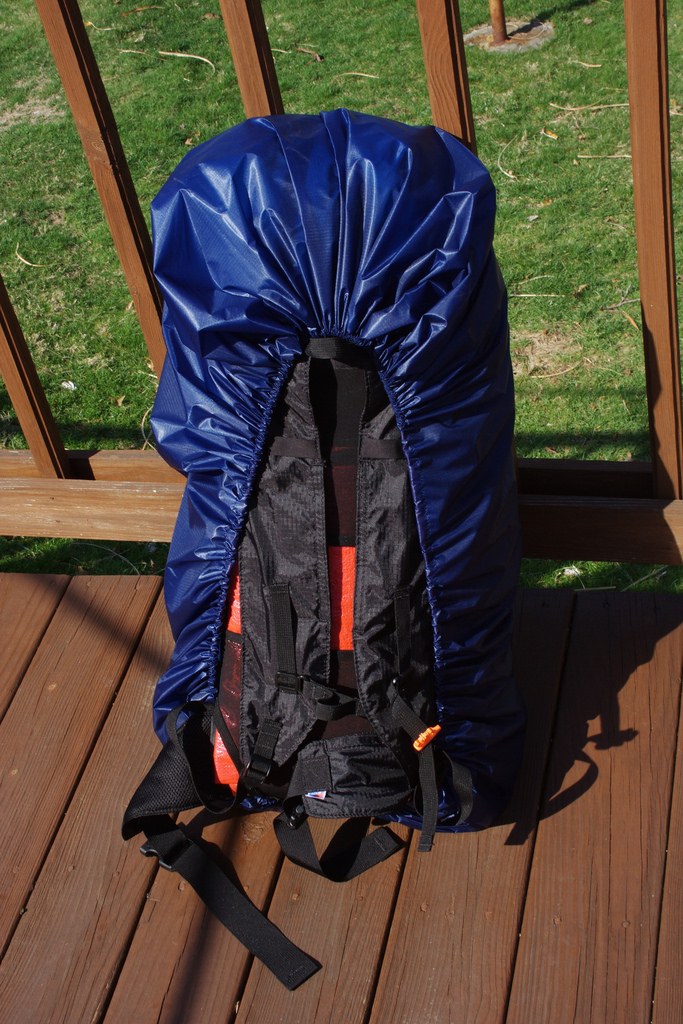
Step 1: Buy or borrow a rain cover. Make sure you measure your backpack when it’s packed to the fullest and base the rain cover size that you buy on that measurement.
Step 2: Place all items in your backpack.
Step 3: Cover your backpack with the rain cover.
Pros:
If you don’t have time to DIY things, this is the way to go. No hassle. It’s also reusable.
Cons:
You have to go out of your way to buy this. It will also take a good deal of hunting around the internet to get a good deal if there’s no one you can borrow from. Also, the rain cover does not completely seal, so if you get drenched and your backpack isn’t totally waterproof, things inside could get wet.
Waterproof Rubberized Tape Method

Step 1: Get a garbage bag or any spare plastic bag (you can cut them and make a large patchwork sheet). You can use old t-shirts or sheets if you really don’t have plastic lying around.
Step 2: Drape it around your backpack. Make sure it completely covers the bag. Mark the straps positions.
Step 3: Tape all over one side of the sheet. Cut out slits to slip the straps through.
Step 4: After packing everything, put your backpack inside the taped up sheet. The taped side should be outside. Thread the strap through the slits and wrap the whole bag in the sheet like you’re wrapping a gift
Step 5: Seal the seams with more tape. Tape around the slits and the beginning of straps as well to completely seal water out.
Pros:
You can customize the size, fit, and coverage to completely wrap your backpack. You can also recycle old shirts, sheets, bags, and others. This is a design that can turn into something reusable because the tape is sturdy enough to last for several uses.
Cons:
This requires a bit of knowledge about pattern-making and requires measuring. So much hassle to make. You’ll also have to cut out or rip out the tape seams to access the bag. You have to bring more tape to reseal it.
Conclusion
Buying or borrowing a rain cover is easiest and most economical because it is made to be reusable and does not require much effort on your part. I actually have one on hand at all times. But if you don’t have time to shop, wait for a shipment, or do extensive DIY-ing, the next best thing would be using the garbage bag method with an actual garbage bag.
Since you’re going to bring a garbage bag with you (you’ll need it to keep your food trash if you’re going for more than a day), you can simply whip one out and plunk your whole backpack inside if it suddenly rains or if you have to swim across a body of water unplanned! It’s rough but does the job well.


