If you are an outdoor enthusiast, I know you are aware that getting some sleep is very vital for your adventure. In other words, getting tired and needing to rest are some of the things that you may experience.
Once you do not sleep or ease up yourself in a tent, you may not enjoy your future activities as you might have no energy anymore.
Even though tents are invaluable especially during sudden weather changes, there are instances your reliable tent is leaking while you are taking a rest. Admit it or not, this inevitable matter can be an unpleasant situation especially if you do not know what to do.
More...
However, if it happens that your tents suddenly leaks, you do not have to be anxious about getting wet, and you can still have enough rest once you learn how to weatherproof a tent which I will thoroughly discuss in this writing piece.
Before we proceed to the materials that you need and the procedure you should follow, let us first understand why tents are leaking.
Factors that affect a tent's weatherproof ability
Before we proceed to the things that we can do so your tent can still protect you from any bad weather, we should know first the reasons why your tent needs to improve its weatherproof capacity.
1) Your tent is already old
The age of your tent is one of the important things that you should consider especially when you have used your tent for many times already. Since your tent is the outdoor equipment that protects you from several changes of weather, it may need you to do something to weatherproof it again.
My tent has been my outdoor shelter for six years. Since I have used it many times already, I have to weatherproof it to enhance its weatherproof ability.
2) You might not be taking care of your tent properly
If you are an outdoor enthusiast, I know you are aware that your tent always encounters much pain outside. Because of this matter, you should also check all of the parts of the tent after you use it. You should know if you have to fix something from the tent especially its weatherproof ability.
3) You are doing something wrong when cleaning your tent
This matter can happen when you scrubbed your tent fly's underside which can remove or damage the polyurethane waterproof of your tent. You must know how to clean your tent properly so you can avoid this problem from happening.
You can watch the video below so you would be aware of the right way to clean a tent.
Materials Needed
1) Seam Sealant
This item is the single most important piece of equipment that you will need for this tutorial. You can either extrude it to the seals of your tent or spray to waterproof it.
Before purchasing or applying a particular brand to your tent, it is always advisable to check with your tent manufacturer to find out which particular products they suggest or warn against. This tip is important to prevent any problem that may occur because of improper usage.
Always make sure that you understand and adhere to the manufacturer's recommendation as well as your seam sealant's instructions. There are various products to choose from in the market. Aquaseal, Nikwax, and McNett are just some of them.
What I frequently use is the following product is the SeamGrip of McNett which is ideal for tents that are made of nylon or any other synthetic materials. It also works well with natural fabrics, vinyl, waterproof laminates, and leather.
If your shelter is made of silicone coated cloth such as silnylon, I recommend that you use SilNet. It is also perfect for doing minor in-field repairs.
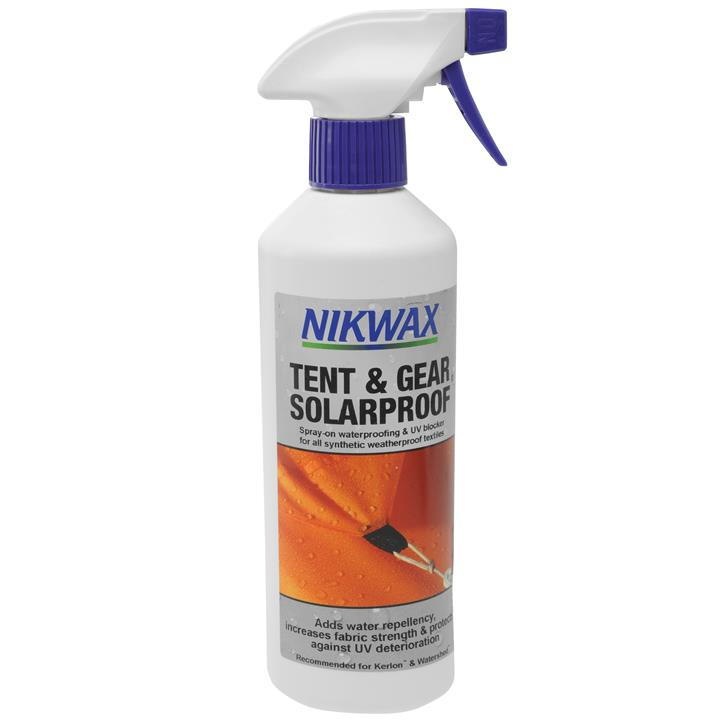
via sportsdirect.com
2) Cleaning materials
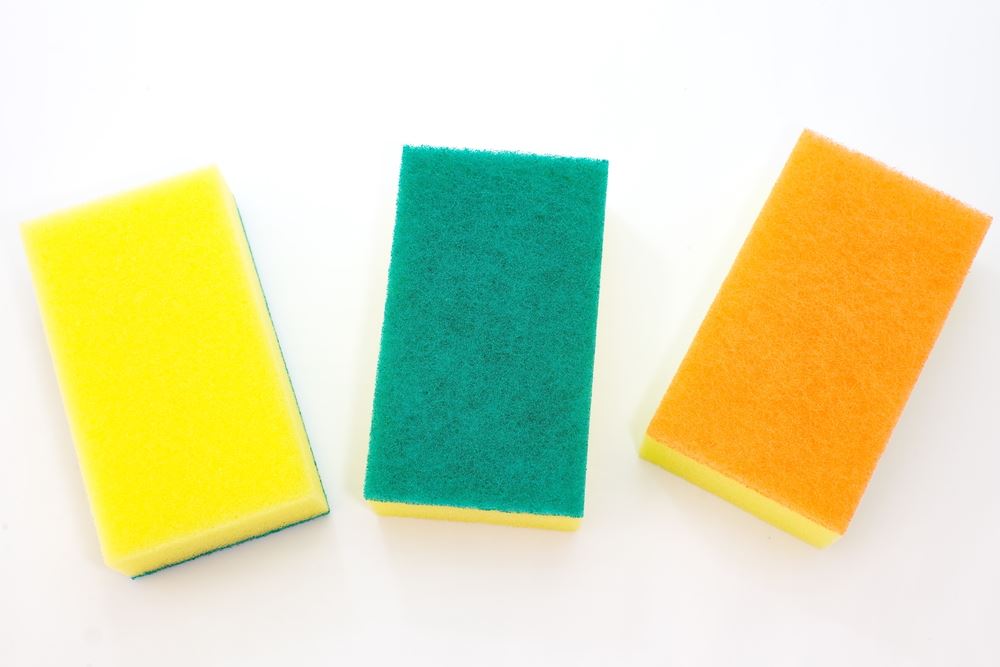
These pieces of equipment are necessary for removing unwanted dirt and dust that accumulated in your tent. These materials include sponge which you will need to clean your tent before waterproofing it.
You will also need a bottle of isopropyl alcohol and a rag for cleaning the seams while a soft brush is necessary for eliminating the residue of the old seam sealant in the seams of your tent. A simple, clean toothbrush is perfect for doing this task.
Recommended articles:
The Quick And Effective Procedure On How To Fix A Tent Zipper
Step-by-step Procedure On How To Waterproof Your Tent
Step 1: Clean the tent before waterproofing
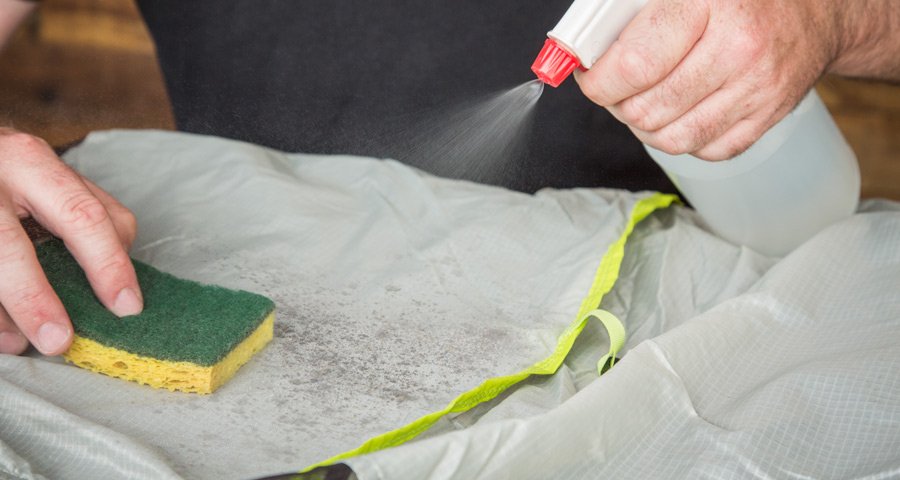
Start by cleaning your tent, and its fabric. As a gentle reminder, you can not waterproof any part of your tent if it is not clean and dry. This tip is important because if the tent is unclean, every layer that you put to it will only cover the accumulated rain and may fade away during the first rain.
What I normally do is I clean my tent by soaking a sponge in warm water. Make sure to use a sponge that has a soft surface, and never use a sponge that has a rough surface because rough surfaces may cause tearing on the fabric of your tent.
Do not use a washing machine to clean your tent since persistent rocking of the machine can stretch the fabric which eventually causes it to tear.
via rei.com
Step 2: Identify which seams you have to seal and waterproof
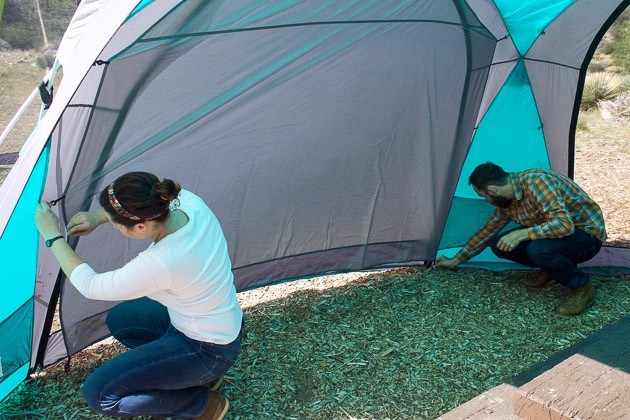
It is important to know that not all seams of your tents need to be waterproof. In fact, the only parts you need to make impervious to water are the spots which are exposed to puddles, rain, or run-off which often include the seams on the tent floor as well as the seams on the fly.
These tent seams do not often include the canopy. The ones that make up the interior walls border uncoated nylon and mesh panels that are porous. For this reason, you actually need not spend a lot of time with it.
Many tent manufacturers produce tents that have fly and floor seams which are factory-taped which many users believe to be a huge advantage because these types of tents only need a simple and quick visual check to find out whether the seams are taped.
They also tend to have a glossy appearance and a smooth feel. Also, taped seams will not require more work because you will need to do additional proofing with them.
Meanwhile, exposed seams that are not taped possess many tiny needle holes that tend to leak quickly. In these scenarios, you will need to use a tube of seam sealer. This adhesive substance is polyurethane which seeps into every crevice. As it dries, it creates a watertight barrier.
There also various products and brands of this glue, but I highly recommend using any of these three products: Kenyon's Seam Sealer, Aquaseal's Seam Seal in a bottle (this one has a built-in applicator), and McNett Outdoor's Seam Grip. Almost all outdoor shops have these items.
Tents that have taped floor and fly seams also require some seam sealing, especially around their corners and along zippers. Most of the time, your tent should receive a treatment every after three or four years.
via thewirecutter.com
Step 3: Find the side of the fabric that needs sealing
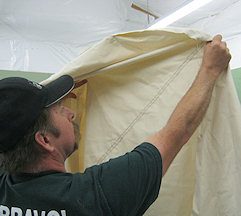
Before spreading your sealant, make sure to read the instructions to identify which side of the tent's seam need to have treatment. There are sealants which always go on the inside surface of the rainfly of your tent while others need to go on the side which is opposite to the original waterproof coating.
If you want to look for the original coating, find the surface which has a shinier finish. Alternatively, you can sprinkle water on both sides of the seam. This trick will make uncoated side to puddle while the coated one usually beads up.
via bravotents.com
Step 4: Prepare the seams of the tent
Use an old toothbrush to remove the peeling remnants of the old sealant. Dip a piece of clean rag in isopropyl alcohol and use it to swab the seams clean. Let the seams dry for a few minutes before pitching the tent in a spot where there is good ventilation.
Attach the rainfly with the surface you need to coat facing out. If you want your tent to dry quicker, I suggest that you clinch the fly tight. This tip will cause it to stretch the seams. It also enhances sealant penetration.
You can also turn your tent inside out too if you necessarily have to get at spots which are hard to reach.

via ifixit.com
Step 5: Apply coating
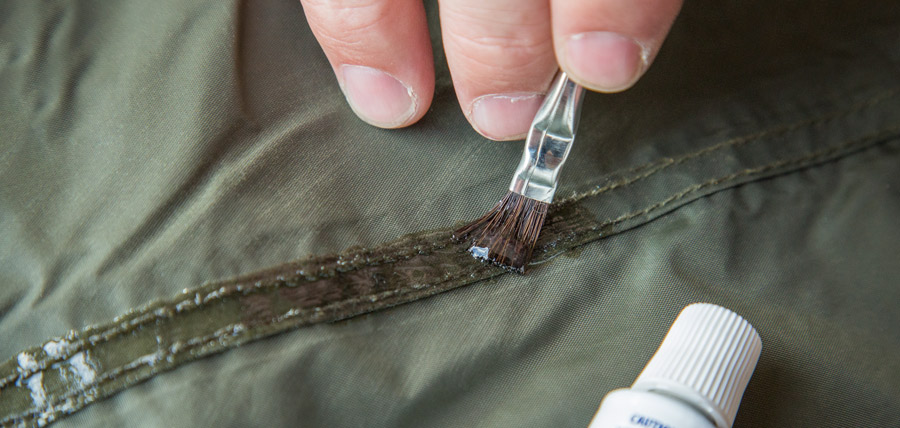
Put a generous amount of seam sealant coat all over the seams which you deem need to seal, and allow it to dry. One hour is almost always enough to do this process. Afterwards, repeat the same procedure in covering gaps if there are any.
This step is what I consider the most important procedure in this tutorial. Over my several years of outdoor adventure, I can say that a good backpacking tent should not only have fancy features but should also maintain its waterproofness by applying seam sealants as needed.
via rei.com
Step 6: Set the tent under a sprinkler
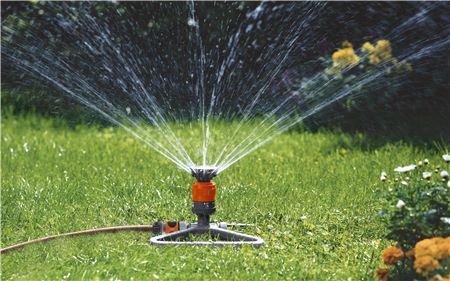
Once you notice that the seam goop dries thoroughly, it is now time for setting your tent under a sprinkler for many hours. This is to check if there is any leakage. Allow the tent to dry completely again and put some seam sealant if needed.
via gardena.com
Doing these simple procedures will not only protect you from harsh and unwanted elements but will also help you maintain the warmth inside your shelter.
To better appreciate some of the steps I just mentioned, please see the video below:
Frequently Asked Questions About Waterproofing A Tent
#1 How frequent should I waterproof or seam seal my tent?
Proper maintenance is important to extend the life of your tent. Generally, I recommend doing it every after 3-4 years; however, most hikers, backpacker, and campers prefer doing it at the start of the season except when you discover that your tent wear in spots or is starting to leak.
Meanwhile, if you are a camper or a backpacker who uses your gear particularly hard, you may want to consider applying a coating twice in a year. The best way I suggest for you to know when you will waterproof or seam seal your tent is to make regular inspections.
Occasionally, you will encounter leaking, missing, or cracked in sections, and you will need to apply another coat in these cases.
#2 I have a got a new tent. Do I need to waterproof or seam seal it?
The first thing that you need to do is check with the manufacturer of your tent. Most tents have their unique guidelines and instructions on how and where to apply seam sealants depending on the materials that make up the tent as well as its design. Below are also some of the things you need to consider:
- You will need to seal the seams of your tent if they are neither factory-taped nor sealed. I suggest that you begin on a warm, dry day before you hit the trails.
- You need not seal your tent if it has factory-taped seams. Tents should be water-resistant although it is also possible to test their waterproofness under the sprinkler before going to the backcountry. Seam sealing is important when you use your tent frequently and particularly in wet conditions.
Adding a layer of sealant also provides optimum waterproofness as well as added protection to your tent. - You need not seam seal your tent immediately if it comes seam-sealed. Even so, you can still test the waterproofness of your shelter under the sprinkler. Regular maintenance and inspections of your tent are still extremely essential, particularly with heavy use.
#3 The seams of my tent are factory-taped. Does that mean it is also seam sealed?
Not necessarily. Many manufacturers of tents have come up with factory-taped seams. The idea behind this fact is that a particular material that is impervious to water has been double stitched between the seams of the tent.
Factory-taped seams are typically very water-resistant. They also often hold up well as compared to those that do not have seam sealing at all although they are not the same as seam sealing that is fully waterproof.
You can also seal the outside seams to maximize the waterproofness of your tent.
Conclusion
Did you enjoy learning the things that I just discussed?
Waterproofing your tent is a task that is very cheap and quick to do. If you are an amateur outdoor goer, you may not want to spend a lot just to buy a new one that has a very fancy feature for just a single trip.
Waterproofing or seam sealing your tent may be a small work that gives huge difference and enormous advantage when you venture in another camping, hiking, or backpacking adventure. Doing it the right way will not only extend your tent's life but will also give the comfort you need when you explore the wild.
If you think this tutorial helped you enough to learn how to weatherproof a tent and make your next journey a more enjoyable and exciting one, please feel free to tell us your insights by writing your thoughts or feedback in the comments section below. You can also share this writing piece with your friends.
Have a dry and comfortable trip!


