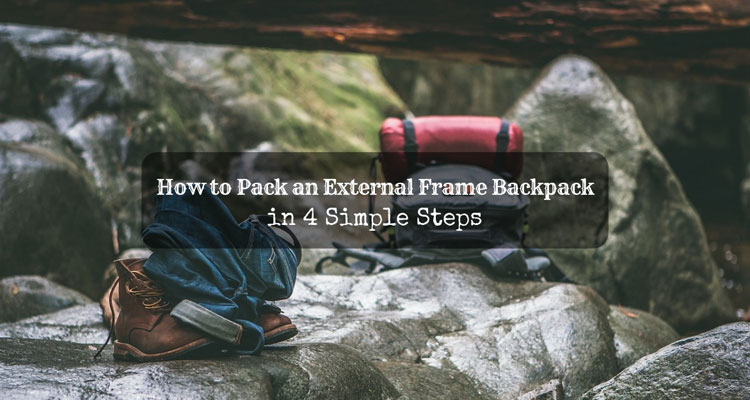
Not many people recognize the advantages of an external frame backpack. Its design is rooted in history and is now still being used by hikers and military alike. If you want more storage flexibility, the external frame backpack is the way to go.
Just like most hikers, I’ve been using an internal frame pack for my trips. A friend who went hiking with me recently used an external frame backpack. Seeing one in actual use, it got me curious, so I borrowed it for my next trip.
You must be thinking that a backpack is a backpack, but after trying it out, I can tell you that there are differences. One of the things I struggled with was keeping the bag’s weight well-distributed. A haphazardly packed bag will seriously throw off your balance, which is very dangerous when hiking. That’s why I’m sharing this step-by-step how to pack an external frame backpack guide.
More...
Things to Prepare
Depending on your trip, you may require different gear. However, here are the recommended essentials:
Dry bags or ziplock bags or plastic bags
Use these to waterproof your backpack. They’re also needed to contain the odor of some things (food and other scented personal effects) so the rest of your things like your clothes do not end up smelling.
Nylon straps or cords
Use these to securely strap additional things to the external frame. You can also use these to install hammocks or other things.
First aid kit
Make sure that the contents of your first aid kit are not expired.
Drinking Water
You can bring bottled ones or in the form of hydration packs. Clean drinkable water is very essential for survival.
No-cook Food
Even though you can bring pots, a small stove, and something to start a fire, there are it’s good to have some that do not require cooking like granola bars so you can it them on the go.
Sleeping bag
If you’re staying overnight, then you’re at least going to need this. Ideally, have one with a mosquito net face cover or hood to protect yourself against bugs and things even if you have to sleep without a tent.
Sunscreen
Waterproof sunscreen is your best bet. You’ll save time and effort from reapplication when you sweat or go through water.
Bug repeller
You never know what kind of insects you’ll encounter in the wild. Some could have deadly bites. At the very least, bug repeller will keep you safe from common bug-related diseases.
Flashlight or torch
Besides for seeing at night, if you’re hiking through a trail with a lot of leaf cover, it could get really dark even in the middle of the day. You may also encounter caves and other dark places. Lights are also crucial when you’re trying to signal for help during an emergency.
Matches, lighter, or fire striker
Having something to make a fire with is always helpful. Not only can you use it to cook, you can also use it for light if you run out of batteries, make a bonfire for warmth, or a signal fire for emergencies.
Whistle
In case you are trapped and need to call for help, a whistle’s sound can reach farther than your voice.
Rain gear
Raincoat or a rain cover to keep yourself or your belongings dry in case of precipitation.
Compass
GPS might not work on some trails, or your battery might get drained without hope for charging. It’s best to carry this analogue navigation device to help keep you on the right path should electronics malfunction.
Watch
It’s always good to know exactly what time it is to know when the sun will set.
Pocket knife
For slicing food, rope, and other things.
Recommended articles
Find Out Which Tops the Best Hiking Backpacks under 100 Dollars
How to Pack
As mentioned before, the goal of packing an external frame backpack is distributing the weight equally to keep your balance. These steps are accompanied by images of an actual packed external frame backpack and the contents of each compartment.

1. Separate items by weight and by necessity.
First, place scented/aromatic things inside ziplock bags like foodstuff. Do this to liquids as well like sunscreen and bug lotion. Things you need to keep dry like your clothes should be kept in dry bags or larger ziplock bags.
Then, group heavy things that you don’t need right away like pots, pans, clothes, and tents together. The next group will be composed of smaller, lighter things that you don’t need right away like a book or extra sets of clothes. The remaining things should be the essentials - things you need easy access to while on the move or during an emergency.
2. Sleeping bag or mats are strapped on at the bottom.

Use the nylon straps (the green and yellow ones in the photo) to secure your rolled-up sleeping bags and mats to the bottom of the external frame. Make sure they’re tight so there’s no swaying or jiggling. Don’t forget to wrap them in waterproof covers!
3. Heavy/bulky items go in the main compartment.

Keeping the heavy items in the main (center) compartment keeps them closer to your upper back, which keeps your center of gravity steady. Your food, pots, pans, stove, and tent go here, as well as extra water.
4. Other items that are lighter but not very essential go in the bottom compartment.

Your clothes, toiletries, utensils, and other personal items like hats or sunglasses should be kept in this bottom compartment. These are the ones you do not have to access while on the move.
5. Place items you need easy access to in the outer pockets.


Your first aid kit, map, compass, matches, flashlight, sunscreen, water, and other things that you need to get to right away should be packed in the outer pockets. Unlike the example photo above, it’s best to leave books for leisure reading inside the main compartment to have enough space in the pockets for essentials.
6. If you need to add more, you can strap them along the frame but make sure to strap them tightly and securely without dangling.

If you’re bringing trekking sticks or tent poles, use straps and cords to strap them securely to either sides of the external frame. Make sure that each side has one in order to keep the weight balanced.
Unlike the sample photo, you should avoid having something dangle outside the bag. If you don’t have a spare side pocket where you can put the water bottle you’d be drinking out of while hiking, get a separate tumbler carry pouch and strap it on securely to the external frame.
Sample Images URL: https://www.flickr.com/photos/simonov/2666025162/in/photostream/
Before You Go
To be safe while hiking, you need to ensure your balance as well as the health of your back. Carry your bag safely by remembering these points:
- Weigh your bag. Make sure it’s max 25% of your body weight.
- Keep the hip belt on top of your hip bones. The bag’s weight should rest on your hips.
- Adjust the shoulder straps to pull the bag closer to your upper back.
- Adjust the stabilizer strap (on the hip belt) to bring bag closer to body.
- Adjust the load lifting strap to distribute weight to your shoulder.
- Clasp the sternum strap below your collarbone (not tightly but just to keep shoulder strap steady).
Recommended articles
Find Out Which Tops the Best Hiking Backpacks under 100 Dollars
External frame backpacks are deemed obsolete nowadays but their classic design gives the most freedom and flexibility when packing for hiking. The only drawback of using this style would be if you’re traveling by plane because things strapped on the outside can get dislodged. But if you do luggage wrapping, you can make sure that everything stays in place.
Even though this style isn’t that popular, there are still a lot of bag companies that make them. Plus, they’re cheaper than internal frame backpacks. Having tried an external frame backpack for a hike, I wouldn’t mind getting one when my internal frame backpack breaks down. So if you’re planning to go on a prolonged trip and foresee adding items along the way, this is the backpack for you.